Perhaps you just created your very first logo, or maybe you’ve been using the same one for years—either way, you understand the importance of a good logo. It’s the first thing people see, even before they read about your organization or check out the work you’ve done for your community. With that in mind, you should be thoughtful with how you use your logo.
When it comes to creating merch for your organization, including your logo is essential. Having the option for your supporters to purchase merch with your logo printed on it is an easy way to raise funds and increase awareness for your organization!
However, you might have questions about how to go about doing it. What size should your logo be? Where should your logo be placed? To help you out, we’ve put together this list of the top print locations for your logo apparel. Let’s take a look at these options.
Key Takeaways
- Use simple designs for small areas like the left chest, and save detailed artwork for the full front or back.
- Choose logo placements based on how the merch will be used—upper back prints can help identify event security, while sleeve logos work for everyday wear.
- Create a professional look by combining print locations, such as using a subtle front logo on the front of a shirt and a bold graphic on the back.
1. Left Chest
Overview
- Best for: Volunteer or event shirts (although it is a classic choice that works for any occasion!) and simple logos
- Size: 3 to 4 inches wide
- Position: On the left side of the chest, about 3 inches below the collar
The left chest logo location is a classic choice and is commonly used for volunteer or event shirts. The logo is placed off to the left side of the chest and is usually sized about 3in – 4in wide and sits about 3in below the collar.
Because of the smaller print area, this print location works best for simple logos that don’t have a lot of detail. If you have a high-contrast logo that POPS, placing it on the left chest of your merch could work beautifully.
2. Above Pocket
Overview
- Best for: Playful branding on shirt pockets
- Size: 2 to 4 inches wide, ensuring the logo sits fully above the pocket
- Position: Directly above the pocket
If you’ve selected merch that has a pocket on the front, consider placing your logo above the pocket. This style is a playful take on the “left chest” option. If possible, make sure the entirety of the logo sits above the pocket so you don’t have to worry about creases in the design from the pocket.
Remember, using logos that are easy to see and read at a smaller size is perfect for print locations like above the pocket.
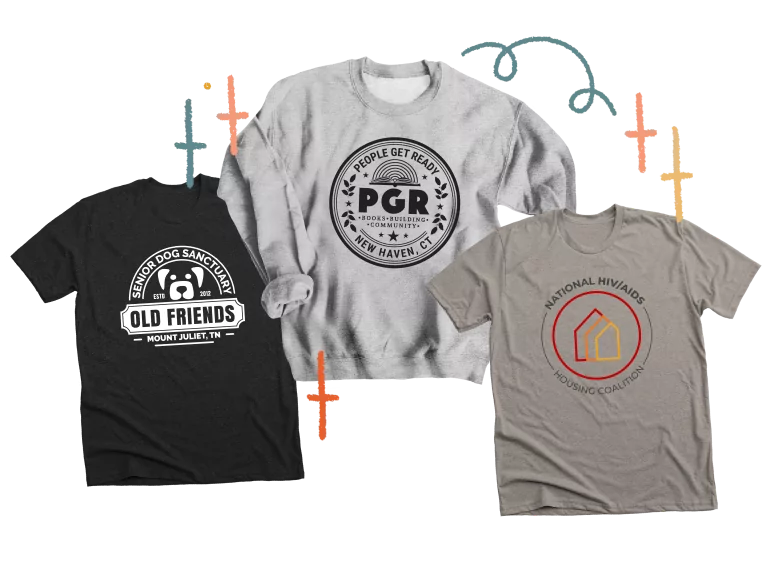
3. Center Chest
Overview:
- Best for: Larger, eye-catching logos with more detail
- Size: 8 inches wide is ideal, but anything between 6 and 10 inches would work
- Position: The top, center portion of the chest
Placing your logo on the center chest portion of your tee is eye-catching and fun – especially if your logo has a little more detail to it. Placing your logo here almost always guarantees that it stays visible, even if someone is wearing a button-up shirt or a jacket over their tee.
Keep in mind that this placement does not cover the entire front of the shirt, but typically only the top portion. The size for this style is usually around 8 inches wide, but 6 inches or 10 inches would work too.
4. Full Front
Overview
- Best for: Big, bold designs with lots of visual interest
- Size: Up to 11.5 by 14 inches
- Position: The full printable area on the front of the shirt
Full front means just that – your logo takes up the full printable space on the front of your shirt! This print location is excellent for logos with lots of open space and interesting visual details.
At Bonfire, the maximum print size is 11.5in by 14in, and that’s a lot of playing space. Just think how incredible your logo will look when printed big and bold like that! However, it’s important to think about your audience when deciding if you should print your logo at this scale. Would your community be excited to wear these shirts around town? If so – go for it!
Helpful tip: Consider how much filled in space there is in your logo. When you make your design larger, you can sometimes risk having the shirt feel crunchy where the logo is printed or risk having the logo look overpowering.
5. Oversized Front
Overview
- Best for: Stylized statement shirts or special cases where you want to break typical design guidelines
- Size: Anything larger than 11.5 by 14 inches
- Position: On the front of the shirt, extending past standard printing guidelines
Oversized front takes full front to the next level. Printing anything “oversize” means printing it bigger than the recommended printing size for a tee. This type of printing is usually reserved for special cases since it extends past the printing guidelines, but it continues to be a popular option anyway!
6. Back Collar
Overview
- Best for: Subtle branding, especially if you are showcasing a design without your logo on the front of the shirt
- Size: 2 to 3 inches wide
- Position: On the upper back, 1 to 2 inches below the collar
Printing your logo on the back collar means that your logo is smaller and placed on the upper back portion of the shirt. This works great when you have a design that you’d love to showcase on the front of your shirt that doesn’t include your logo.
You can still make sure your community knows the organization behind the shirt by including your logo high up on the back. This also adds a nice touch because someone standing behind you in line could take notice of the logo and either strike up a conversation with you about it or perhaps even look up information about the organization on their own time.
Helpful tip: logos placed on the back collar are typically 2in – 3inches big and sit about 1in – 2inches below the collar.
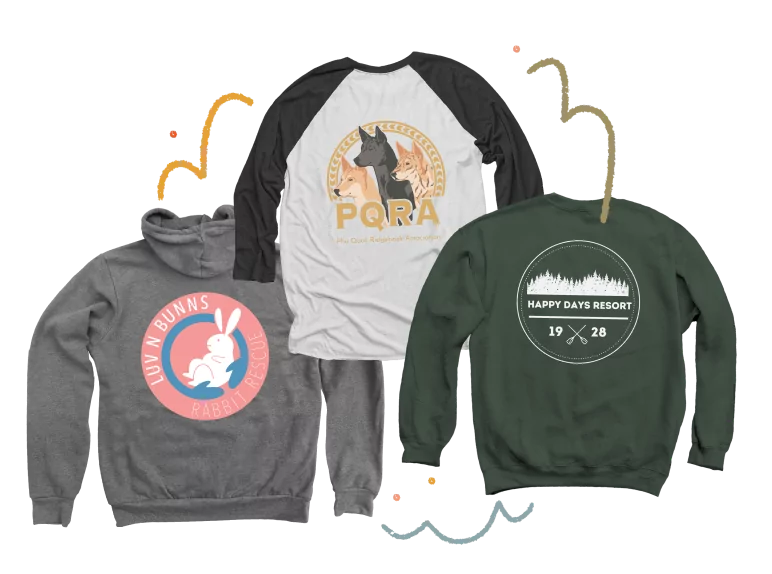
7. Full Back
Overview
- Best for: Catching attention from behind—pairs well with a smaller front placement
- Size: Up to 11.5 x 14 inches
- Position: Takes up the full printable area on the back of the shirt
Full back printing opens up a ton of creative possibilities. This printing location rarely exists on its own and is usually paired with other printing locations as well. For example, a full back logo could be paired with a left chest print on the front.
Most likely, you wouldn’t want to do a full-back logo on its own because you want to intrigue viewers from both sides!
8. Upper Back
Overview
- Best for: Identifying text or labels like “Event Staff” or “Volunteer”
- Size: Between back collar and full back print—6 to 10 inches across
- Position: Across the upper back
If you like the idea of placing your logo on the back of the tee, but want to go a little bigger than the back collar area, you have the option to print on what’s called the upper back section! Oftentimes, this area is used to print words like EVENT STAFF, VOLUNTEER, or SECURITY, but it can be used for anything you’d like.
Again, this could be a great choice for when you’d like to feature something on the front, but still showcase your logo on the back.
9. Sleeves
Overview
- Best for: Adding an unexpected touch with a simple, highly legible logo
- Size: 3 to 4 inches
- Position: On either sleeve—if pairing with a left chest placement, place on the right sleeve for balance
Printing your logo on the sleeve of your tee is a surprise people may not expect at first! It’s always nice to add a little fun to your merch!
Sleeve logos work best when the logo is simplified and remains legible on a smaller scale, similar to the guidelines for printing on the left chest area.
Helpful tip: if you pair sleeve printing with left chest printing, we recommend printing your logo on the right sleeve to balance things out.
Best Print Locations for Logos on Mugs and Tote Bags
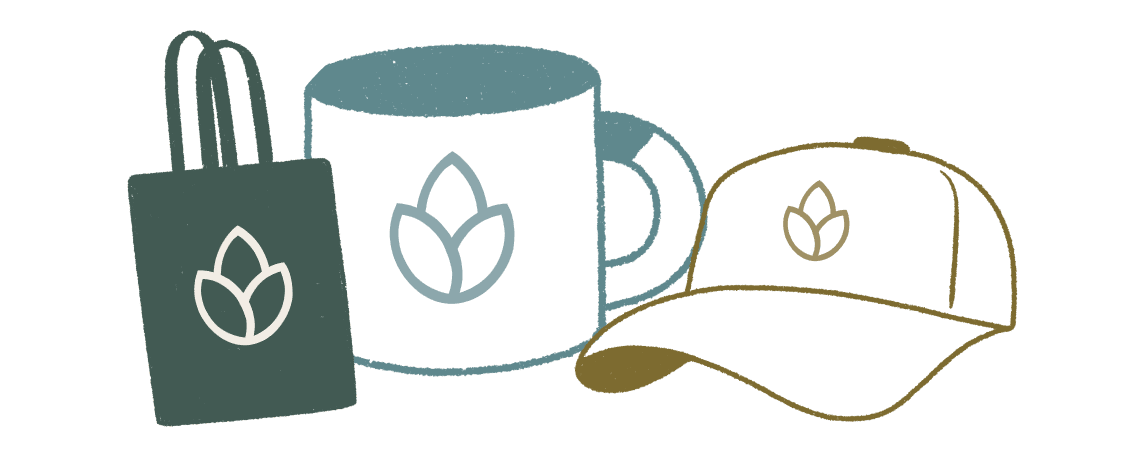
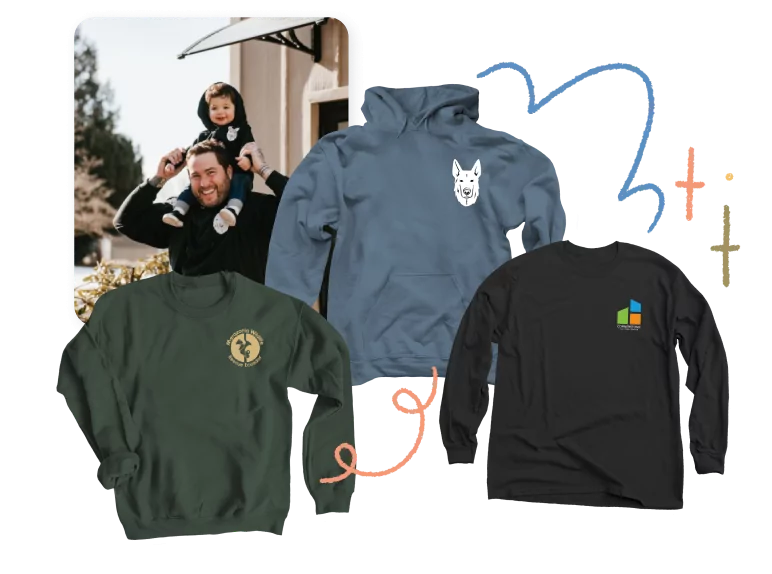
Looking to expand your collection beyond just clothing items? We have tons of fabulous non-apparel items for you to check out too. Here’s a list of a few of our favorites that are ready for you to add your logo!
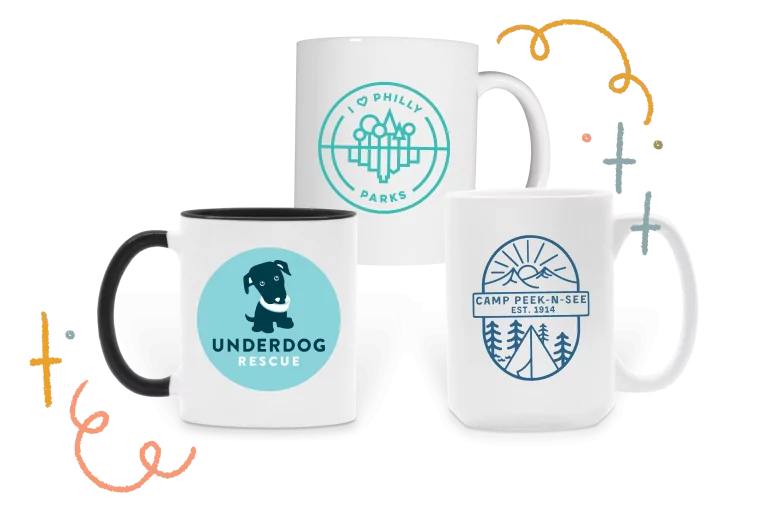
Mugs
Overview
- Best for: Classic, highly visible branding on coffee mugs
- Size: 1500 x 1500px artwork
- Position: Printed on one or both sides of the mug
Logos always work great on mugs! They’re like the perfect pair. The printable area on the mug is pretty straightforward, and we recommend using 1500px by 1500px artwork if you’ve got it – and remember – transparent artwork always works best!
Our mugs print on one or two sides and come in a variety of fun colors. We currently offer 3 different styles of ceramic mugs, so choosing which style looks best with your design is important. Mugs come in Coffee Mug (11 oz), Large Coffee Mug (16 oz), and Two Tone Ceramic Mugs (11 oz).
Tote Bags

Overview
- Best for: Gaining maximum exposure for your logo
- Size: Flexible and dependent on the size of the bag—you can cover the full surface or use a scaled-down design
- Position: Up to you!
Tote bags are an excellent choice because while someone may not wear a t-shirt every day, they may carry the same tote bag every day! Just think of all the exposure your logo would get being carried all around town!
The printable area for tote bags takes up most of the front of the bag. There’s lots of room to play with, and you can decide if you’d like your logo to take up the whole space or be smaller and sit towards the top or bottom.
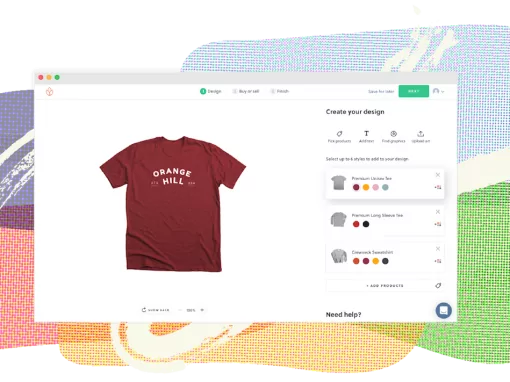
There are so many options when it comes to deciding where to place your logo on your merch! Each option adds its own unique style and flair. Use the design tools offered on Bonfire to play around and see where your logo makes the most sense and looks the best.
No matter what, make sure your logo is visible, legible, and aesthetically pleasing. Your logo is important to your organization, your supporters, and it’s also incredibly important to you because of what it represents.
At Bonfire, we want to help make sure your logo is being showcased and celebrated in the best way possible because we understand just how important it is.